How to install and choose a Jupyter kernel
Install the kernel
To run Jupyter notebooks, you need to add a Jupyter kernel in every conda environment that you create.
-
Activate your conda environment (if it is not).
-
Then, type the following, choosing your own
<name>(this name can be different from your conda env name):conda install ipykernel -y && ipython kernel install --user --name "<name>" - You can list your installed Jupyter kernels considering:
ls /home/<username>/.local/share/jupyter/kernelsor
jupyter kernelspec list - Refresh your page to update the changes on the screen.
Choose the kernel
-
Open a Jupyter notebook file and click on the
kernel button. Refer to Fig. 1, top-right. In this example, the kernel button readsPython 3 (ipykernel).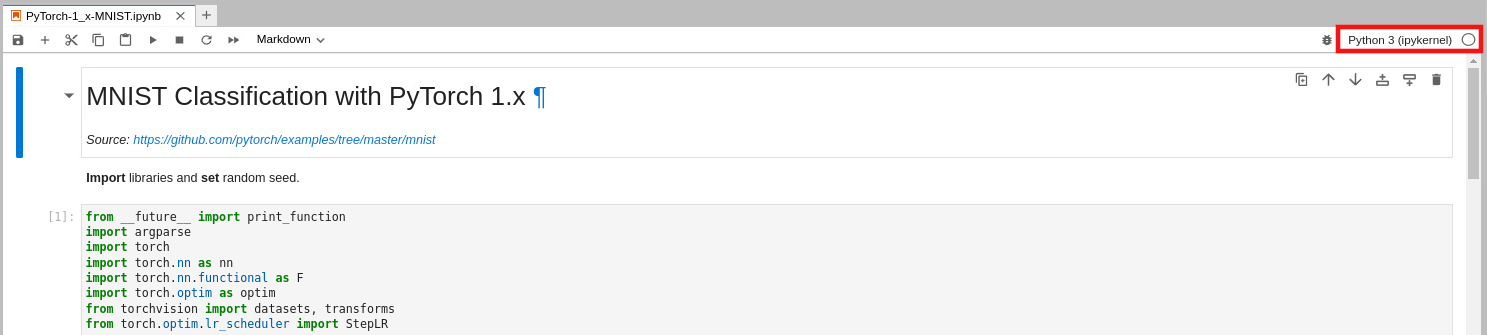
Fig. 1.
-
A box opens listing all your kernels. Choose the one that you want to work with. In Fig. 2, for example, we choose
pytorch-mnist.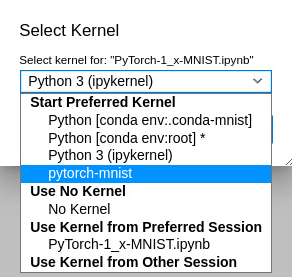
Fig. 2.
-
As shown in Fig. 3, top-right, the kernel button now shows
pytorch-mnist. With this, you are ready to work with it.
Fig. 3.